by Les Picker
In our small-group, intensive fine art print workshops, I get asked a lot about framing options. My associate and I are believers in traditional framing, both for its elegance and for the fact that it enhances and does not compete with the image itself. We prefer our traditional prints to be set in matte black frames with white double- or triple-mats (such as Rising Museum Boards). Art collectors and our most discerning clients typically choose this option.
Enter Canvas Prints
But, what about canvas prints? This print option has become highly popular, both for its cost benefit for consumers as well as its wide range of display options. Of course, there is always the standard canvas display option of wrapping the print over wood braces and hanging it as a clean, simple work of art, and we do occasionally sell canvas images with that treatment. However, a few years ago we began offering our clients a framed canvas option which is generally known as a "floating frame" or "open frame".

There are many variations on the floating frame theme, but I’d like to offer those of you new to the game an idea of how to construct floating frames yourself easily and inexpensively. Once you get the hang of it, you’ll find yourself developing spinoffs unique to your photography. In fact, we now offer several floating frame options, including one for traditional fine art paper prints. Their less formal presentation is appealing to some clients.
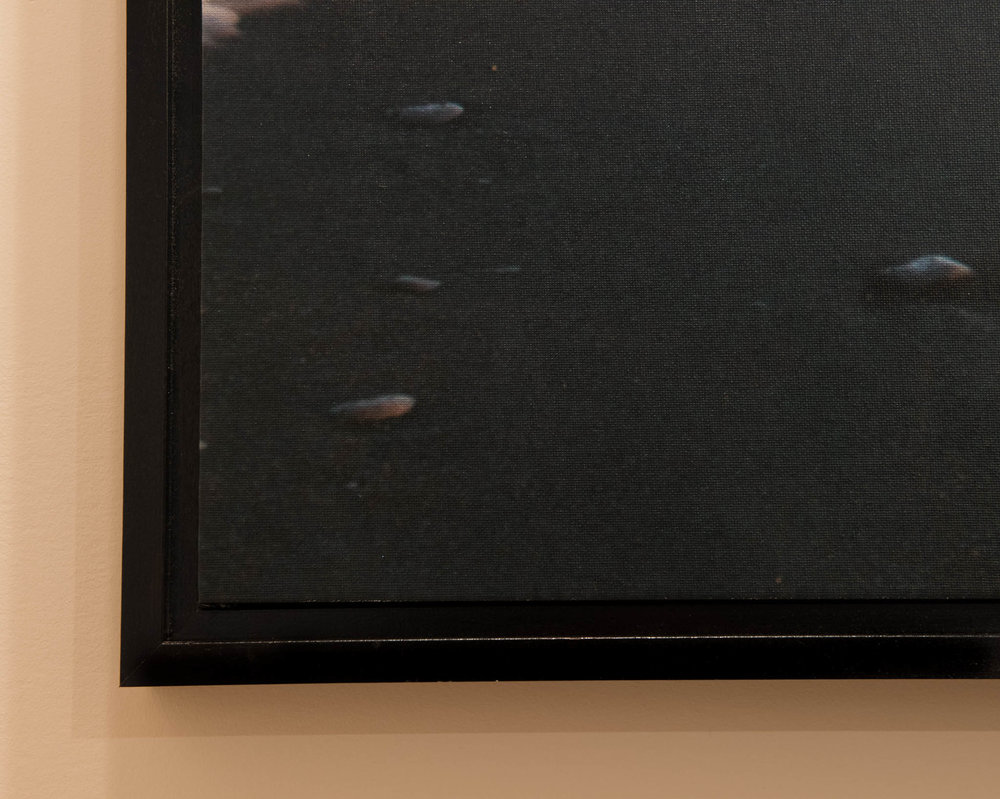 Open frames refer to the fact that the image is not enclosed in glass or Plexiglas. Open frames also typically include a "gutter" between the canvas (or print) and the frame edge. When we first offered this open frame option, we were charged around $300 and up for a 30" x 40" frame. Now we make our own open frames in-shop for under $75, not including labor. However, once you get some experience, it should not take more than an hour or two to create a floating frame. The rest of this article is a how-to, illustrating how we create these open frames.
Stick It To Me
The key to holding down expenses is to order the framing pieces in bulk. These frame "sticks" are available from a variety of vendors and in different lengths. A careful Internet search will show you vendors near you so that you can save even more on shipping charges.
We generally buy three stick sizes corresponding to the thickness of the canvas wraps, namely .75, 1.25 and 1.75 inches. Smaller canvases would get the .75" open frames, while larger pieces get the 1.75" frames. I typically order several hundred feet at a time of mixed sizes in ten-foot lengths.
Floating frame sticks are different from standard framing sticks that you would use for prints behind glass. They do not have an inner lip to hold the glass (see ILLUSTRATION #1). They are also typically free of adornments on the frame edge facing the viewer.
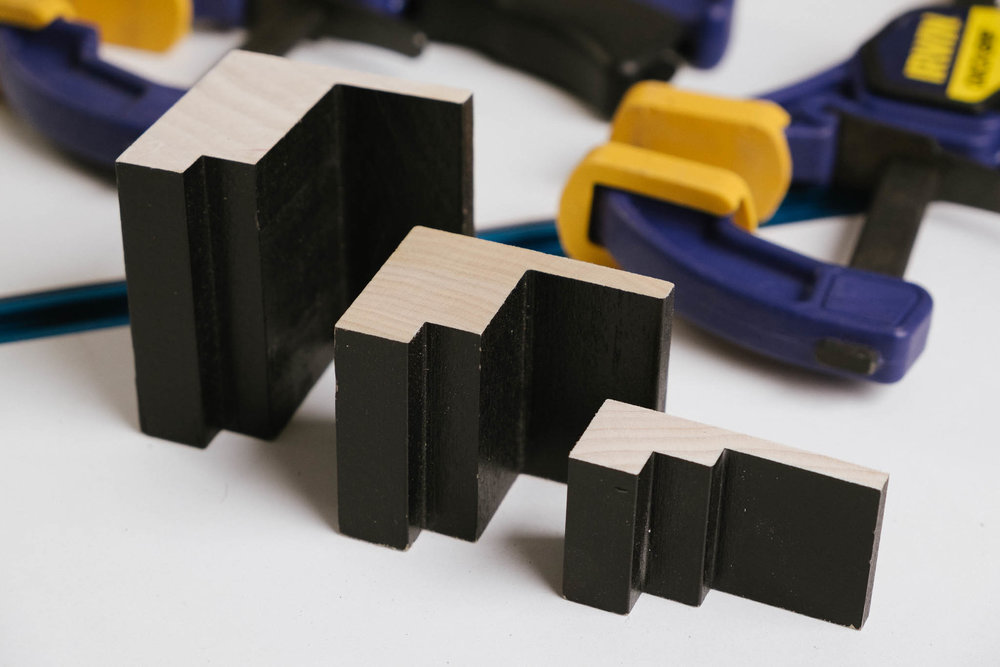 Illustration #1
Also, floating frame sticks do not have a completely open back, like traditional framing sticks. Instead they include a wide "platform" that is needed for the back of the canvas frame to rest against and adhere to, whether with glue or screws.
Measure Twice… Cut Once
The old carpenter’s maxim - measure twice and cut once - applies here. I’ll assume that you have already wrapped your canvas over a suitable frame. Depending on the thickness of the frame (.75”, 1.25" or 1.75"), assemble the appropriate thickness framing sticks. If the sticks are not painted, now is the time to do that.
I prefer to use a primer spray as a first coat, and then spray on two light coats of flat black paint. With the proper setup, this process should take 10-15 minutes for each coat for a frame that is 30" x 40". Depending on the specific brand, most paints need several hours between coats, so I sandwich the job between other chores. Be sure to wear gloves, eye protection and a breathing mask.
Once your sticks are completely dry (allow 24 hours), carefully measure the length and width of your wrapped canvas, not the dimensions of the original wood frame that the canvas is wrapped around. That is so that you incorporate that little bit extra material that is required due to the thickness of the canvas wrap itself. You want to ensure a snug fit.
For simplicity purposes, let’s assume that you have a 24" x 36" finished piece, canvas wrap included (you should first coat the canvas with a protectant). This means you will need two sticks at 24" length and two at 36" - to the **inside** dimension (see ILLUSTRATION #2). You will need to cut the pieces to allow for the 45-degree miter corner cuts to extend out from your measurements. Please note that the open frame sticks have three levels to them. The wrapped canvas will rest on the flat backing platform. So you want the inside dimensions to be measured at the second step, as indicated by the arrow in illustration #2.
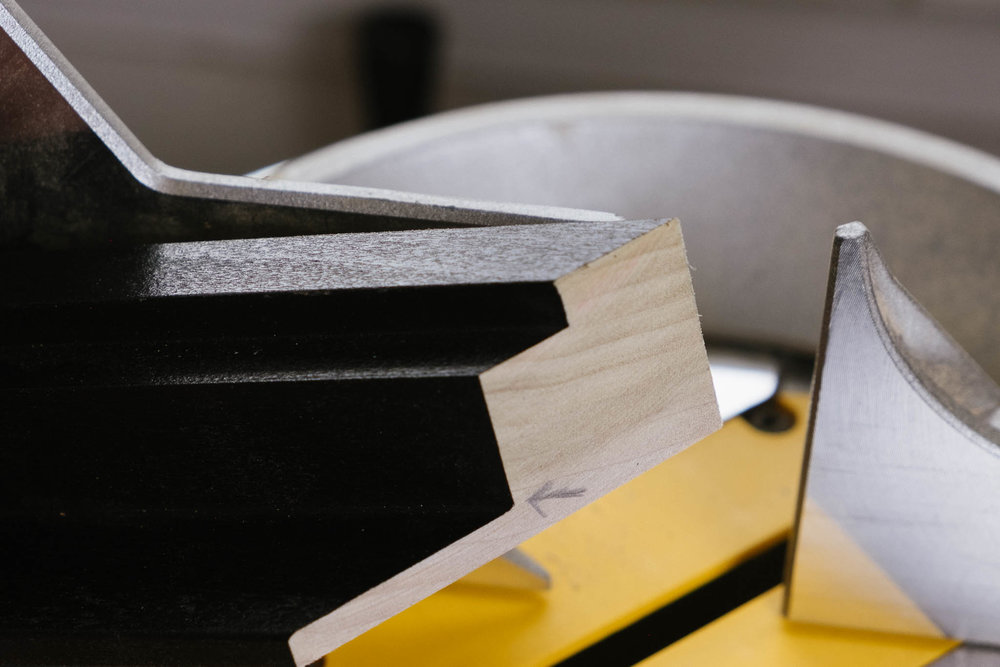 Illustration #2
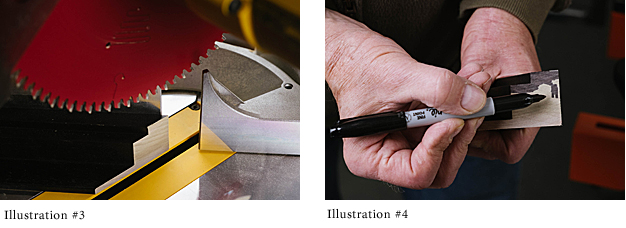
Using an electric or hand miter saw, carefully cut the first miter at 45 degrees, making sure that the sticks are oriented properly (see ILLUSTRATION #3). Once that is done, remeasure the stick to get an exact measurement to the **inside** of the miter on the opposite end of the stick so that it equals precisely 24" or 36". This ensures that your mitered corners will be exact. If you are using an electric miter saw, I recommend using an 80-tooth blade for clean cuts. With a hand miter saw, use one with as fine teeth as possible. Sand lightly as needed. With all the miters done, you are ready to begin assembly.
Assembling the Frame
Before you start permanently assembling the frame, first take some of that black paint (or whatever color you painted the sticks) and dab some about 1/4 inch in along each mitered corner (see ILLUSTRATION #4). This will prevent any unpainted edges from showing if your frame is a bit off a perfect 45-degree angle. You can even use a black permanent marker, as shown here, but in that case use two coats.
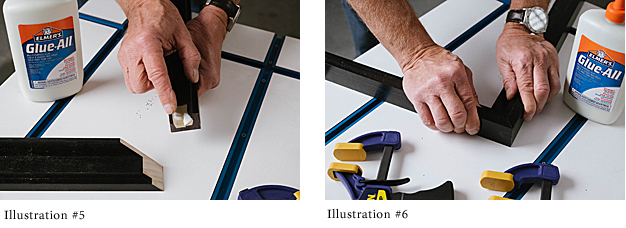
Once the frame is completely dry, spread a thin layer of wood glue on each mitered corner and fit the pieces together loosely to ensure that the fit is good (see ILLUSTRATIONS # 5 and 6). Wipe off any excess immediately.
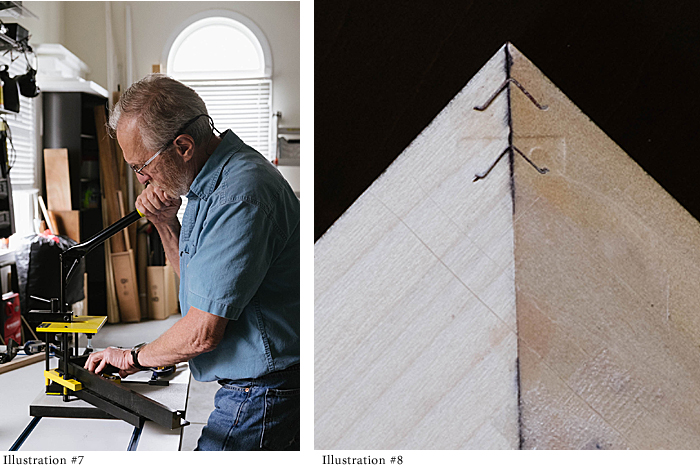
There are alternate ways to actually fasten the pieces together permanently. Our preferred method is to use a simple hand-operated machine available from many suppliers. This machine holds two corners tightly together to create a perfect joint. While they are being held in place by the machine, you pull down on a handle, which forces a corrugated metal wedge into the back side of the frame (see ILLUSTRATION #7 and 8). That wedge keeps the corners tight. When the glue dries you will have a joint that is more permanent than the wood itself.
There are times when we use glue and a nail gun to permanently adhere the corners, especially with smaller pieces. In any case, pick a method you like and stick with it until you become thoroughly familiar with it.
Other Uses For Floating Frames
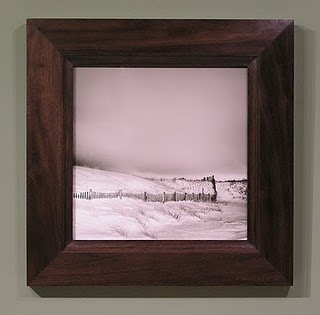
 Illustration Elephant 1Floating frames can also be used with traditional fine art paper. This open-faced display is increasingly popular (see ILLUSTRATION-ELEPHANT-1). In this case the print is first mounted on rigid Gatorboard and the entire board mounted on the frame with glue. One word of caution: make sure to first double spray the print with Moab Desert Varnish or equivalent, since the print is exposed directly to air and fingerprints (see ILLUSTRATION #9). That double coating also gives some degree of UV protection. We love this presentation with a textured paper, such as the Moab Moenkopi line.
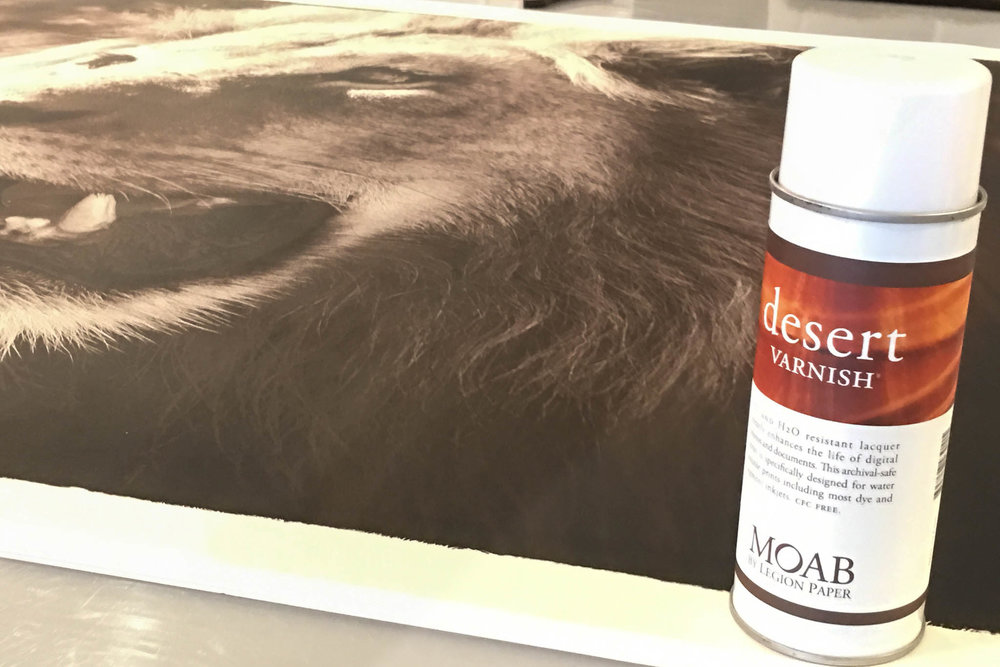 Illustration #9
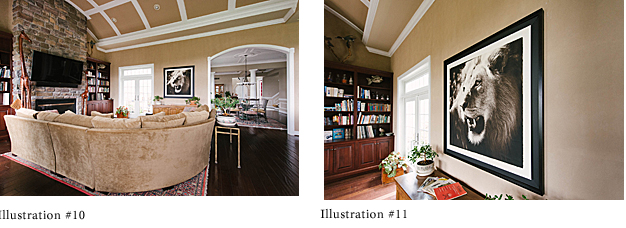
We have also developed an enlarged version of the open frame for areas where a super-large print is desired. We simply enlarge the border by using flat black mat board, as in the image of the Kalahari lion I photographed in South Africa (ILLUSTRATION # 10 and 11).
Finesse and Display
We like to finesse the final product by covering the back of the frame with a thick brown paper. We cut the paper 1/8" short on each side and then glue it to the frame. That gives the back a clean, professional look (see ILLUSTRATION #12) and protects against dust and insect damage.
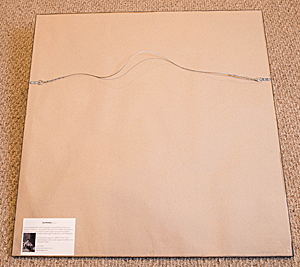 Once the entire presentation dries, you can insert metal eye hooks and wire to the frame for hanging (see ILLUSTRATION #12). I prefer to pre-drill the holes for the hooks to prevent splitting.
Our clients love the open frame display option, particularly young people just beginning to invest in fine art photographic prints.
Why not give this display option a try? I think you’ll be pleased with the results, as will those viewing your artwork.
About the Author
Les Picker is a professional photographer with credits in National Geographic publications and dozens of others. He is a Moab Master and was awarded the prestigious Canada Northern Lights Award for Best Travel Photography. Les offers photo tours throughout the world. His fine art print workshops are sponsored by Moab


